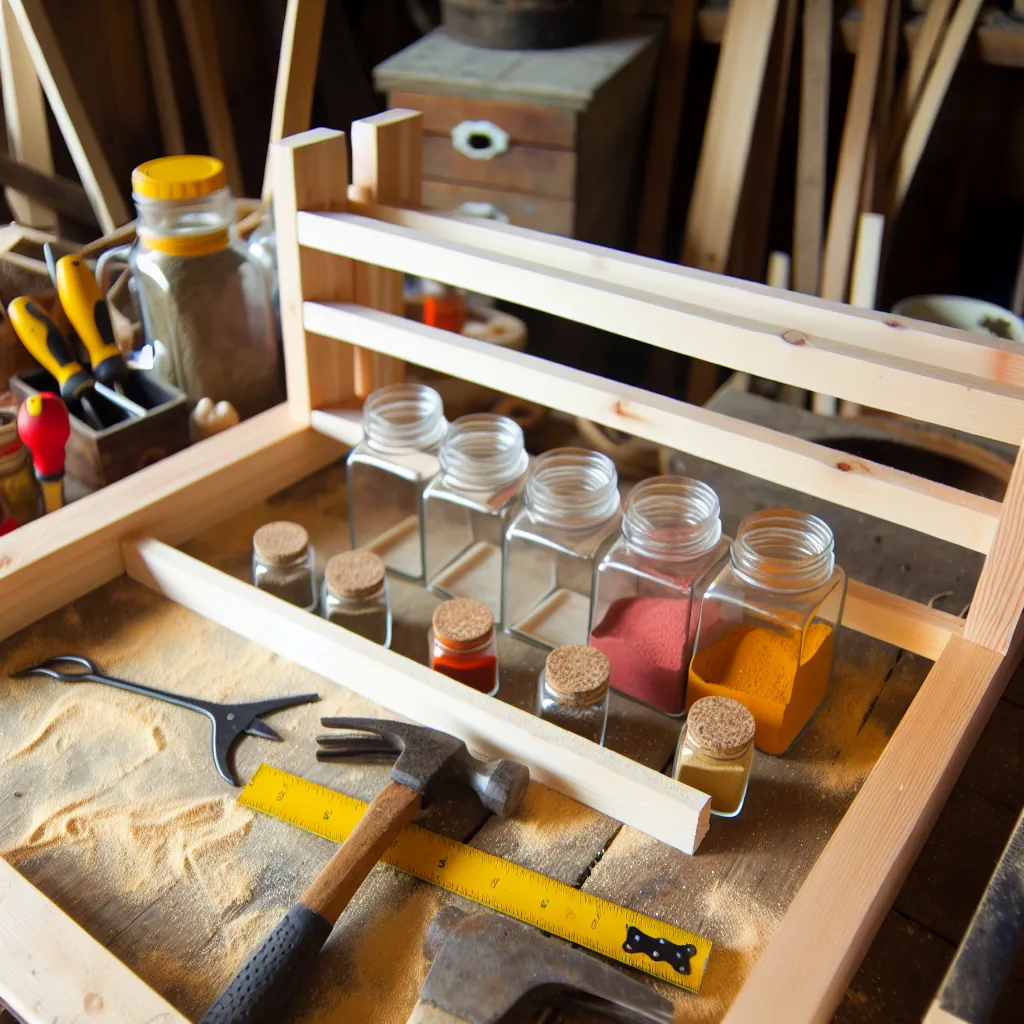
Rustic Wooden Wall Shelf
Materials Needed:
- Reclaimed wood boards (pine or oak) - 3 pieces, 24" x 4"
- Wood brackets or shelf supports - 6 pieces
- Wood screws and wall anchors
- Sandpaper (medium and fine grit)
- Wood stain or paint in farmhouse colors
- Clear polyurethane sealer
- Level, drill, and measuring tape
Step-by-Step Instructions:
- Prepare the wood: Sand all boards thoroughly, starting with medium grit and finishing with fine grit for a smooth surface.
- Apply finish: Stain or paint boards in your chosen color. Allow to dry completely (24 hours recommended).
- Seal the wood: Apply two coats of polyurethane sealer to protect against kitchen moisture.
- Mark placement: Use level to mark where shelves will hang on the wall. Space shelves 8-10 inches apart.
- Install brackets: Attach brackets to wall using appropriate anchors for your wall type.
- Mount shelves: Place boards on brackets and secure with screws from underneath.
- Final check: Verify all shelves are level and securely attached before loading with spices.
💡 Pro Tip
Add a small lip to the front edge of each shelf by attaching a thin strip of wood. This prevents jars from sliding off accidentally.
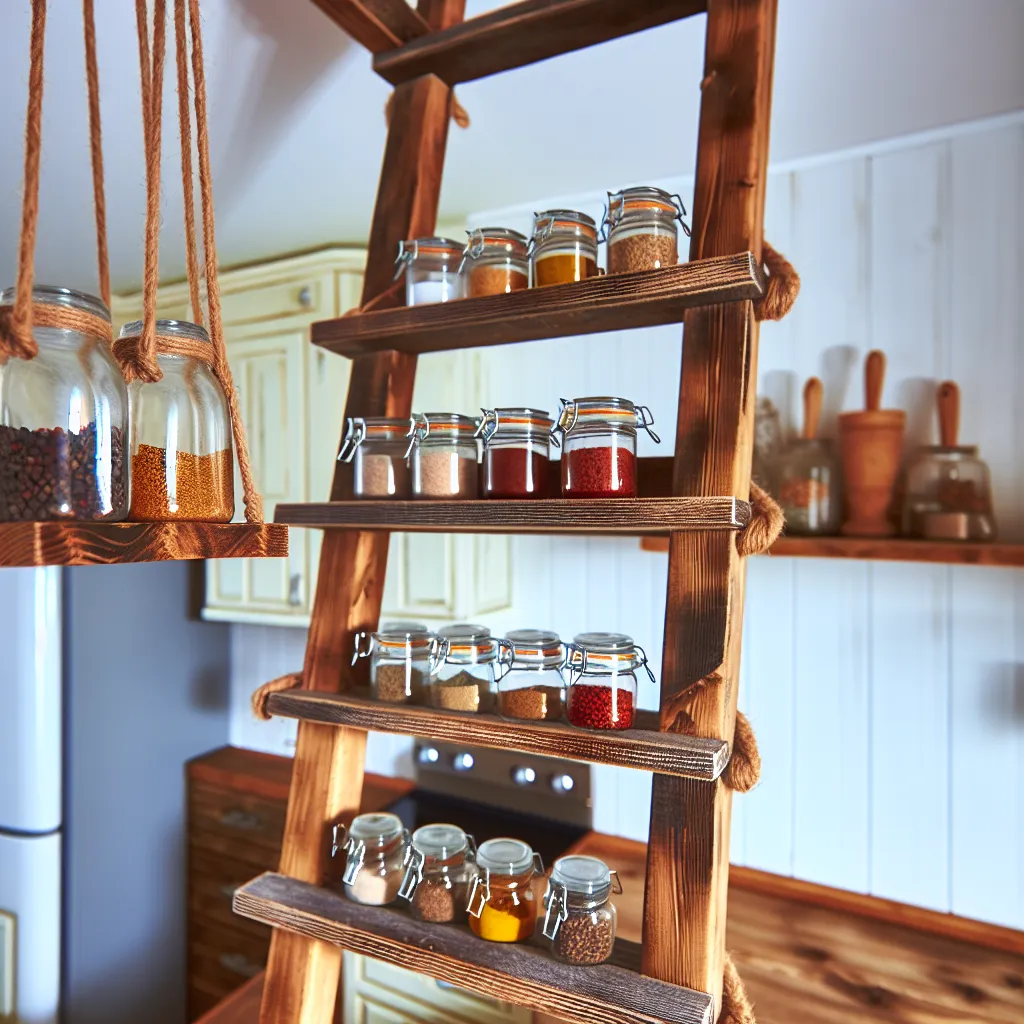
Repurposed Ladder Hanging Rack
Materials Needed:
- Small vintage wooden ladder (2-3 feet tall)
- Heavy-duty ceiling hooks with anchors
- Strong rope or chain (rated for weight)
- S-hooks for hanging jars
- Small magnetic spice jars with metal lids
- Wood polish or oil for restoration
Instructions:
- Clean and restore the ladder with wood polish
- Install ceiling hooks into a stud or use appropriate ceiling anchors
- Attach rope or chain to top of ladder, ensuring balance
- Hang ladder from ceiling at comfortable working height
- Attach S-hooks to ladder rungs for hanging magnetic jars
- Label and organize jars before hanging
Magnetic Board Organizer

Materials Needed:
- Sheet metal or magnetic board (18" x 24")
- Wooden frame pieces to border the metal
- Magnetic spice tins with clear lids
- Wood glue and finishing nails
- Picture hanging hardware
Instructions:
- Cut metal sheet to desired size if necessary
- Build a simple wooden frame around the metal sheet
- Secure metal to frame backing with strong adhesive
- Finish frame with stain or paint to match kitchen
- Attach hanging hardware to back
- Fill magnetic tins with spices and arrange on board
Safety First
Always wear safety glasses when cutting or drilling. Ensure wall anchors are rated for the weight of fully loaded shelves. When in doubt, attach to wall studs for maximum security.